Manual.ly Logo

Chicco Baby Hug 4 in 1 Manual

0,0 · 0 Valoraciones

Manual en PDF · 112 Páginas

Español

M: GO-GEM-FL-25
página

/ 112

Loading...
c2b283e0701ef547d8f033ee65ada21c6ffd page 10
16
17
CLEANING
Clean the plastic parts with a soft damp cloth. Never use
abrasive detergents or solvents. If the highchair comes
into contact with water, dry the metal parts to prevent
the formation of rust.
MAINTENANCE
• This product requires periodical maintenance.
• Cleaning and maintenance operations must only be
carried out by an adult.
• Periodically check the product for broken, damaged or
missing parts: do not use it in this case.
• To avoid friction that may compromise the correct
functioning of the product, ensure that all the moving
plastic parts located along the metal frame are free of
dust, dirt and sand.
• If necessary, lubricate the moving parts with dry sili-
cone lubricant.
• Store the product in a dry place.
COMPONENTS
The product is completely disassembled when pur-
chased; check that all of the components listed below
are present. If any part is missing contact ARTSANA’s
CUSTOMER SERVICES.
The product and all of its components must always be
assembled by an adult.
A - Height adjustable pedestal frame
A1 - 4 wheels with brakes
B - Seat frame
C - Seat structure
D - Tubular seat frame
E - Fabric (with shoulder straps)
F - Booster cushion
G - Toybar
G1 - Light / sound game buttons
G2 - 3 soft toys
I - Upper fabric zips
L - Plastic clips
M - Height adjustment pedal
N - Backrest recline lever
ASSEMBLY
The product is not assembled when purchased. To use
it, carry out the following assembly operations:
1. The rst thing to do is assemble the “A1” wheels on
height adjustable base frame “A”. To do this place the
frame on a rug or soft surface so as not to damage the
oor or frame. Assemble the 4 “A1” wheels inserting
the pins in the 4 holes under height adjustable base
frame “A” as shown in gure 1.
WARNING: Fully insert the wheel pin into the hole in
the base. At this point the base can be rested on the
oor.
2. Insert the fasteners of seat frame “B” into the respec-
tive tubes on seat structure “C” until they click into
place (Fig. 2).
3. Assemble the seat (seat frame “B” + seat structure
“C”) on the base: insert the two tubes on base “A”
into the corresponding holes on seat frame “B” until
they click into place (Fig. 3).
WARNING: The backrest must face the height adjust-
ment pedal (I) as shown in Fig. 3a.
4. Insert tube “D” into the corresponding holes on seat
frame “B” until they click into place (Fig. 4).
5. To assemble fabric “E” line up the holes on the fabric
with the restraint system installed on seat structure
“C”. Pass the two lateral arms of seat frame “B” through
the side fabric holes (FIG. 5), insert the pins of the
arms into the holes on either side of the backrest (FIG.
5a) until they click into place.
WARNING: Check that both arms are assembled cor-
rectly.
6. Attach fabric “E” using the two perimeter zips above
seat frame “B” (Fig. 6).
7. Pass the crotch strap and waist straps on seat struc-
ture “C” through the holes of fabric “E” (Fig. 7-7a-7b-
7c).
8. Attach the fabric (E) to the bottom of seat structure
“C”, making sure to insert all of the plastic clips in the
right slots (Fig. 8-8a).
BOOSTER CUSHION
9. Reducer cushion “F” is ideal from birth and can be
used or removed as necessary. To attach it to the
seat, place it on the fabric, pass the crotch strap and
waste straps through the holes in booster cushion “F”
(reclined cradle mode), (Fig. 9). In highchair mode it
is also necessary to pass the shoulder straps through
the holes of the booster cushion (Fig. 9a).
TOYBAR
10. The toys can be attached to the toybar by passing the
straps through the plastic openings on the bar (Fig.
10) and fastening the velcro.
11. Assemble the toybar (with the light positioned to-
wards backrest recline lever “N”) inserting the pins of
the bar into the holes on seat frame “B” until it clicks
into place (Fig. 11).
12. To incline the toybar in the three possible positions
press the side buttons (Fig. 12).
13. To remove the toybar press the buttons on the inside
of the bar support and pull upwards (Fig. 13).
WARNING: Always check that the toybar is properly
fastened before using it.
WARNING: To prevent possible injury by entaglement,
remove this toy when the child starts trying to get up
on its hands and knees in a crowling position.
HEIGHT ADJUSTMENT
14. Once assembled, the product can be adjusted to
various heights in all congurations. To adjust its
height, hold down height adjustment pedal “M” (Fig.
14) and lift or lower the seat to the desired height.
ADJUSTING THE BACKREST
15. The backrest can be adjusted to four dierent posi-
tions. To do this, push down on backrest recline lever
“N” (Fig. 15).
Position 1 – Crib mode (Fig. 15a)
Position 2-3 – Reclined cradle mode (Fig. 15b)
Position 4 – Highchair and rst chair at the table mode
(Fig. 15c)
These adjustments can also be made with your child
seated in the product. In this case it will be slightly more
dicult.
WARNING: Always check that the backrest is properly
locked before use.
USING THE SAFETY HARNESS
16. With fabric “E” assembled on seat structure “B”, there
will be a crotch strap, two waist straps and two
shoulder straps (Fig. 16).
17. CRIB MODE - WARNING: Completely remove all
safety harnesses making sure to keep them out of
the reach of your child (Fig. 17).
18. RECLINED CRADLE MODE - WARNING: A 3-point
restraint system must be used: crotch strap + waist
straps (Fig. 18).
19. After placing your child in the seat, reclined cradle
mode, fasten the straps by passing the two prongs
through the crotch strap buckle; adjust the waist
straps so that they t closely around your child’s
waist (Fig. 19).
20. HIGHCHAIR AND FIRST SEAT AT THE TABLE
MODE - WARNING: A 5-point restraint system
must be used: crotch strap + waist straps + shoulder
straps (Fig. 20).
WARNING: In this conguration the toybar must al-
ways be positioned behind the backrest.
21. After placing your child in the seat in highchair
mode, fasten the straps by passing the two prongs
through the shoulder strap buckle (Fig. 21) and then
through the crotch strap buckle (Fig. 21a); Adjust the
height of the shoulder straps so that they correctly
t your child’s shoulders.
Always make sure that the straps are fastened correctly.
To unfasten the strap, press and pull the side prongs.
WARNING: When using the product, always fasten the
straps by inserting them in the crotch strap and check
that they are tight enough and properly fastened.
22. The safety harness straps can be removed (for washing
or for use in the crib/reclined cradle conguration).
To remove the harnesses pull the waist and crotch straps
out from the holes in the fabric (Fig. 22-22a-22b) until
they are hidden on the seat frame and pull the shoulder
straps out from the fabric holes on the backrest (Fig. 22c
-22d). After removing the safety harnesses, make sure
that the harnesses are correctly re-assembled.
To re-assemble the safety harnesses, carefully follow the
steps below:
23. Follow point 7 of the ASSEMBLY paragraph to re-
assemble the waist straps and crotch strap. For the
shoulder straps, pass the strap through the hole as
shown in Fig. 23, making sure that the length adjust-
er is positioned as shown in the gure.
Take the plastic hole of the shoulder straps and pass it
through the fabric ring of the harness (Fig. 23a).
Having performed this operation correctly, pull the har-

Chatee con su manual de Chicco Baby Hug 4 in 1 usando IA

Obtenga respuestas instantáneas de IA de su manual de Chicco Baby Hug 4 in 1

Pregunte lo que quiera sobre Chicco Baby Hug 4 in 1. Las respuestas provienen de este manual, con las páginas en las que se basan.

Baby Hug 4 in 1 Programa de mantenimiento

Después de cada lavado
Verificar la tela y las costuras

Verifique la resistencia de la tela y las costuras después de cada lavado para garantizar la seguridad.

Mostrar en el manual (página 15)
Periódicamente
Inspeccionar en busca de daños

Revise regularmente el producto en busca de piezas rotas, dañadas o faltantes y no lo use si se encuentran.

Mostrar en el manual (página 14)
Periódicamente
Limpiar las partes móviles de plástico

Elimine el polvo, la suciedad y la arena de las partes de plástico que se deslizan sobre los tubos metálicos para evitar la fricción.

Mostrar en el manual (página 16)
Según sea necesario
Lubricar las partes móviles

Aplique lubricante de silicona seco a las partes móviles si es necesario para garantizar el funcionamiento correcto.

Mostrar en el manual (página 16)
M: QW-35-FL

Haz una Pregunta

0/1000

¿Recomiendas Baby Hug 4 in 1?

Sí No

Preguntas frecuentes

A

Se puede usar desde el nacimiento en modo cuna y moisés reclinado hasta 9 kg, y luego desde alrededor de los 6 meses en modo trona y primera silla hasta los 36 meses y 15 kg.

¿Esta respuesta fue útil?

A

No. El moisés reclinado no está pensado para dormir durante periodos prolongados. Si un niño necesita dormir más tiempo, debe usarse una cuna o una cama adecuada.

¿Esta respuesta fue útil?

A

Sí. La barra de juguetes puede colocarse o retirarse según sea necesario. En modo trona, siempre debe permanecer colocada detrás del respaldo por seguridad.

¿Esta respuesta fue útil?

A

La tela debe lavarse solo a mano con agua fría. No la blanquee, no la seque en secadora, no la planche ni la limpie en seco. Revise las costuras y el estado de la tela después del lavado.

¿Esta respuesta fue útil?

A

Sí. Las cuatro ruedas deben bloquearse siempre que el producto esté en uso para ayudar a mantenerlo estable y reducir el riesgo de movimiento o vuelco.

¿Esta respuesta fue útil?

A

Compruebe que todas las piezas estén correctamente ensambladas, que los mecanismos de bloqueo estén activados, que el arnés esté bien ajustado y que ningún componente esté roto, rasgado o falte.

¿Esta respuesta fue útil?

M: GO-GEM-FL-25

Ventajas y Desventajas

Ventajas

  • El diseño 4 en 1 crece con el niño desde el nacimiento hasta los 36 meses.
  • La altura ajustable y el respaldo reclinable se adaptan a distintas rutinas diarias.
  • La barra de juguetes desmontable con luces y sonidos añade entretenimiento en las primeras etapas.
  • Las piezas de tela y arnés desmontables y lavables facilitan la limpieza y el cuidado.
VS

Desventajas

  • Los cambios de modo requieren un montaje adulto cuidadoso y revisiones de seguridad periódicas.
  • El producto debe utilizarse siempre con el sistema de sujeción adecuado.
  • Los modos cuna y moisés reclinado se limitan a un rango de edad relativamente corto.
  • Las baterías y las piezas móviles de la barra de juguetes necesitan mantenimiento y atención periódicos.
M: GO-GEM-FL-25

Producto Especificación

Peso

10,20 kg

Dimensiones (AnxAlxPr)

850x880-1220x600 mm

Características

ajustable en altura, convertible en trona, función de melodía

M: GO-GEM-FL-25

Producto Descripción

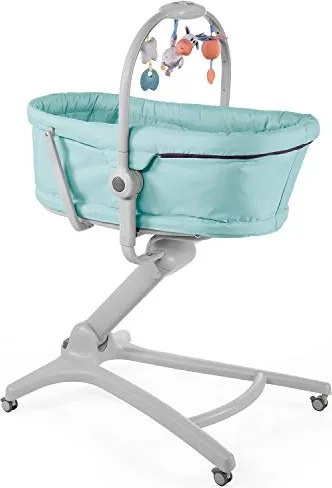
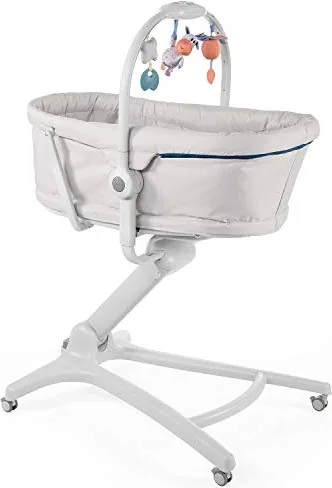
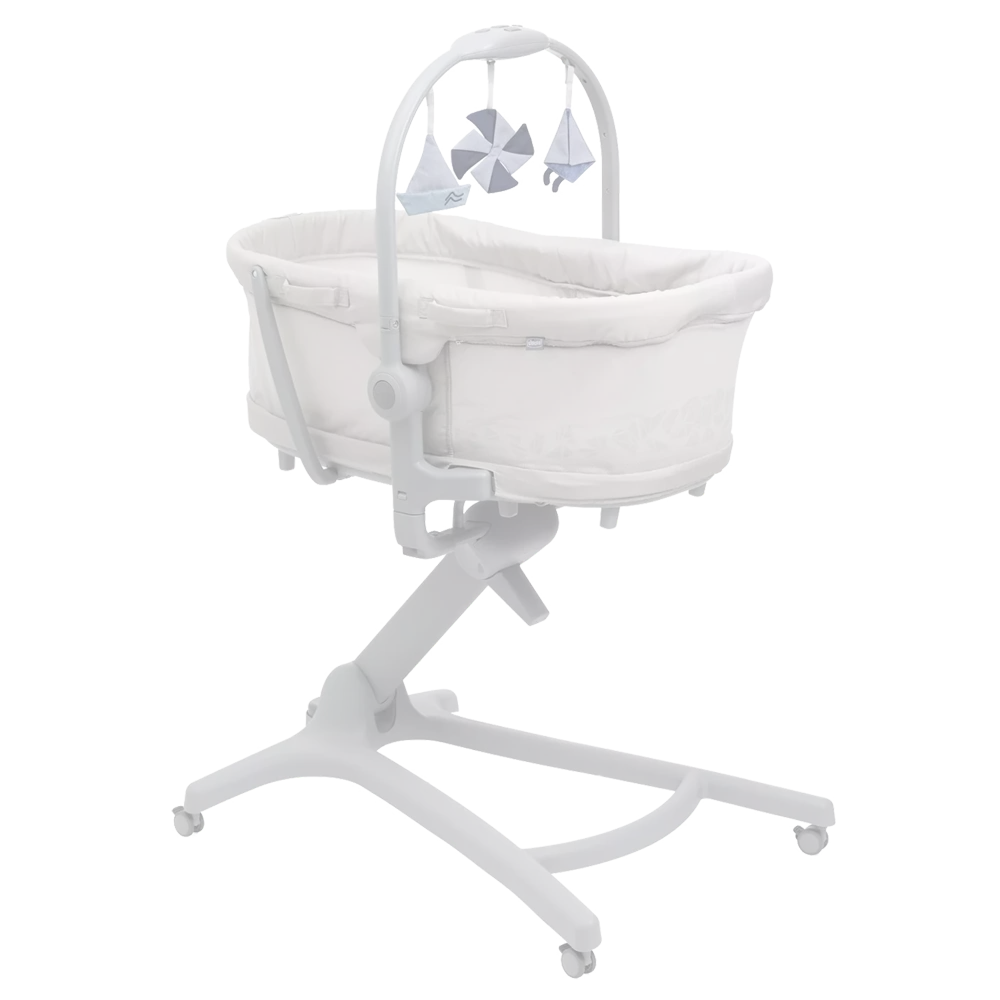
Chicco Baby Hug 4 in 1 Moisés: Un asiento inteligente para los tres primeros años

El Chicco Baby Hug 4 in 1 Moisés destaca como un compañero versátil para la habitación del bebé que acompaña a un niño durante varias etapas tempranas con una facilidad sorprendente. Desde los primeros días en casa hasta los años de niño pequeño, puede funcionar como cuna, moisés reclinado, trona y primera silla en la mesa. Esa flexibilidad lo hace atractivo para los padres que valoran las soluciones compactas sin sacrificar comodidad o practicidad.

En modo cuna, ofrece un espacio acogedor para recién nacidos de hasta 9 kg, mientras que la posición de moisés reclinado brinda a las familias un lugar cómodo para relajarse bajo supervisión durante los primeros meses. Más adelante, cuando el niño puede sentarse solo, el producto se transforma en una trona y primera silla adecuada para las comidas y los momentos cotidianos en familia hasta los 36 meses y 15 kg. El resultado es una sola pieza de equipamiento para bebés que se adapta a las rutinas cambiantes en lugar de quedar sin uso después de unos meses.

El diseño también se centra en la comodidad. Un sistema de altura ajustable ayuda a que el asiento se adapte a distintas configuraciones de muebles, y el respaldo puede reclinarse en varias posiciones para ajustarse al uso previsto. Una barra de juguetes desmontable con luces, sonidos y peluches añade un toque entretenido, especialmente en las primeras etapas. Para muchos padres, el Manual del Chicco Baby Hug 4 in 1 Moisés resulta útil aquí, ya que explica cómo pasar de un modo a otro de forma segura y aprovechar al máximo cada configuración.

Otra fortaleza es el mantenimiento diario. Las piezas textiles desmontables, los arneses de seguridad y las superficies fáciles de limpiar hacen que sea más manejable para hogares ocupados. El producto también está diseñado con un fuerte énfasis en la estabilidad y la supervisión, recordando a los cuidadores que bloqueen las ruedas, revisen los puntos de cierre y utilicen el sistema de sujeción correcto para cada modo. Estos detalles importan porque un producto multifuncional debe sentirse tan seguro como práctico.

Notas

  • Ideal para padres que buscan una solución duradera y que ahorre espacio.
  • Siga siempre los pasos de montaje con cuidado antes de cambiar de modo.
  • La inspección regular y una limpieza adecuada ayudan a conservar el rendimiento y la apariencia.
  • La barra de juguetes es divertida para los bebés más pequeños, pero debe retirarse cuando el niño sea más móvil.
M: GO-GEM-FL-25

© Copyright 2026 Manual.ly